How to Set Up Stripe Invoicing with Miru in 5 Minutes
Connect Stripe, send an invoice, get paid. Step-by-step guide to accepting payments through Miru.
How to Set Up Stripe Invoicing with Miru in 5 Minutes works when the workflow is simple enough to repeat every week.
Connect Stripe, send an invoice, get paid. Step-by-step guide to accepting payments through Miru. We write from operating experience, not trend-chasing.
Step 1: Create a Stripe Account
If you don’t have one, go to stripe.com and sign up. Stripe is free to create — they take a percentage of each transaction (2.9% + $0.30 for US cards). No monthly fee. No setup cost.
If you already have a Stripe account, skip to Step 2.
Step 2: Connect Stripe in Miru Settings
Log into Miru. Go to Settings → Payments → Connect Stripe. Click the button. Stripe will ask you to authorize Miru to create charges on your behalf. Approve it. That’s the whole integration.
Miru doesn’t store credit card numbers. It doesn’t touch your Stripe balance. It creates payment links that route through Stripe’s infrastructure. Your client pays Stripe. Stripe pays you. Miru just connects the dots.
Step 3: Create and Send an Invoice
Go to Invoices → New Invoice. Select the client. Pick the date range. Miru pulls in all the billable time entries for that period and formats them as line items.
Let’s say you did 40 hours of work for Acme Corp at $150/hour. The invoice shows:
| Description | Hours | Rate | Amount |
|---|---|---|---|
| API integration — user authentication | 12h | $150 | $1,800 |
| Bug fixes — payment processing | 8h | $150 | $1,200 |
| Frontend — dashboard redesign | 14h | $150 | $2,100 |
| Code review and QA | 6h | $150 | $900 |
| Total | 40h | $6,000 |
Review it. Add a note if you want (“Thank you for your business” or whatever you say to clients). Hit send. Miru emails the invoice to your client with a payment link.
Step 4: Client Pays via the Link
Your client opens the email, clicks “Pay Invoice,” and sees a Stripe-hosted payment page. They enter their card details. Stripe processes the payment. Miru marks the invoice as paid automatically.
You don’t chase anyone. You don’t send a follow-up email asking for the wire transfer details. The invoice has a button that says “pay.” People click buttons. That’s the whole insight.
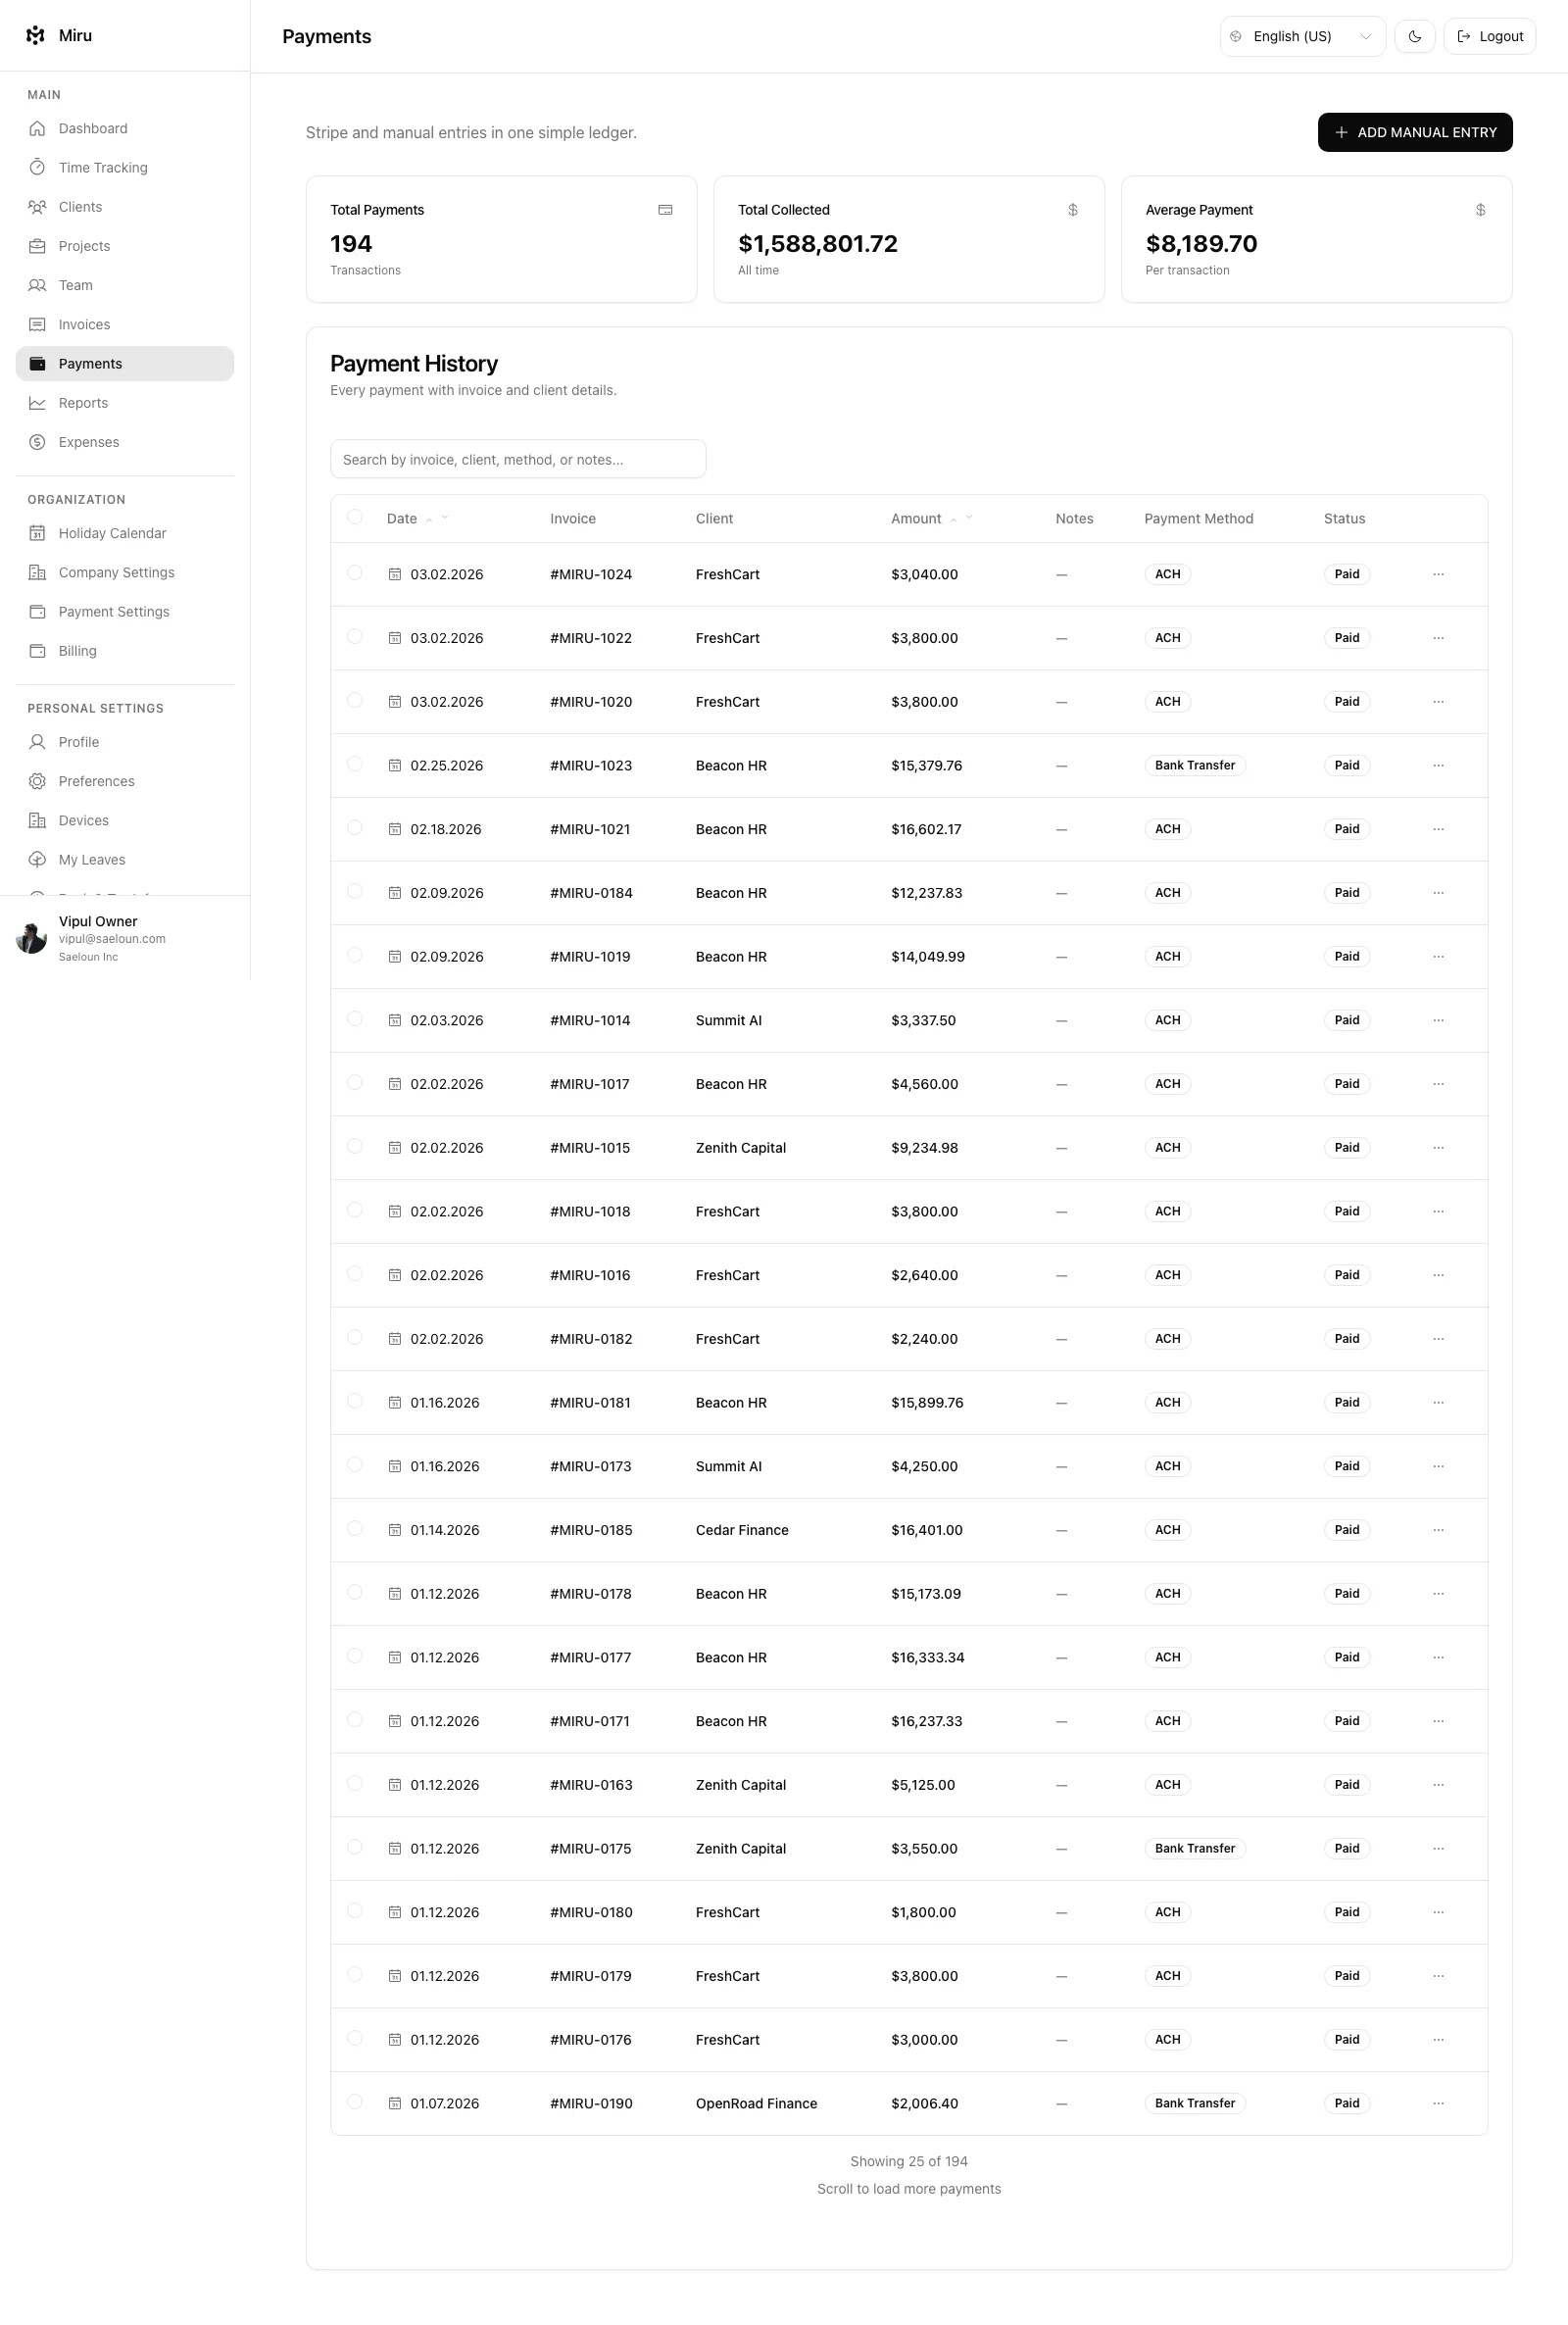
What Happens After Payment
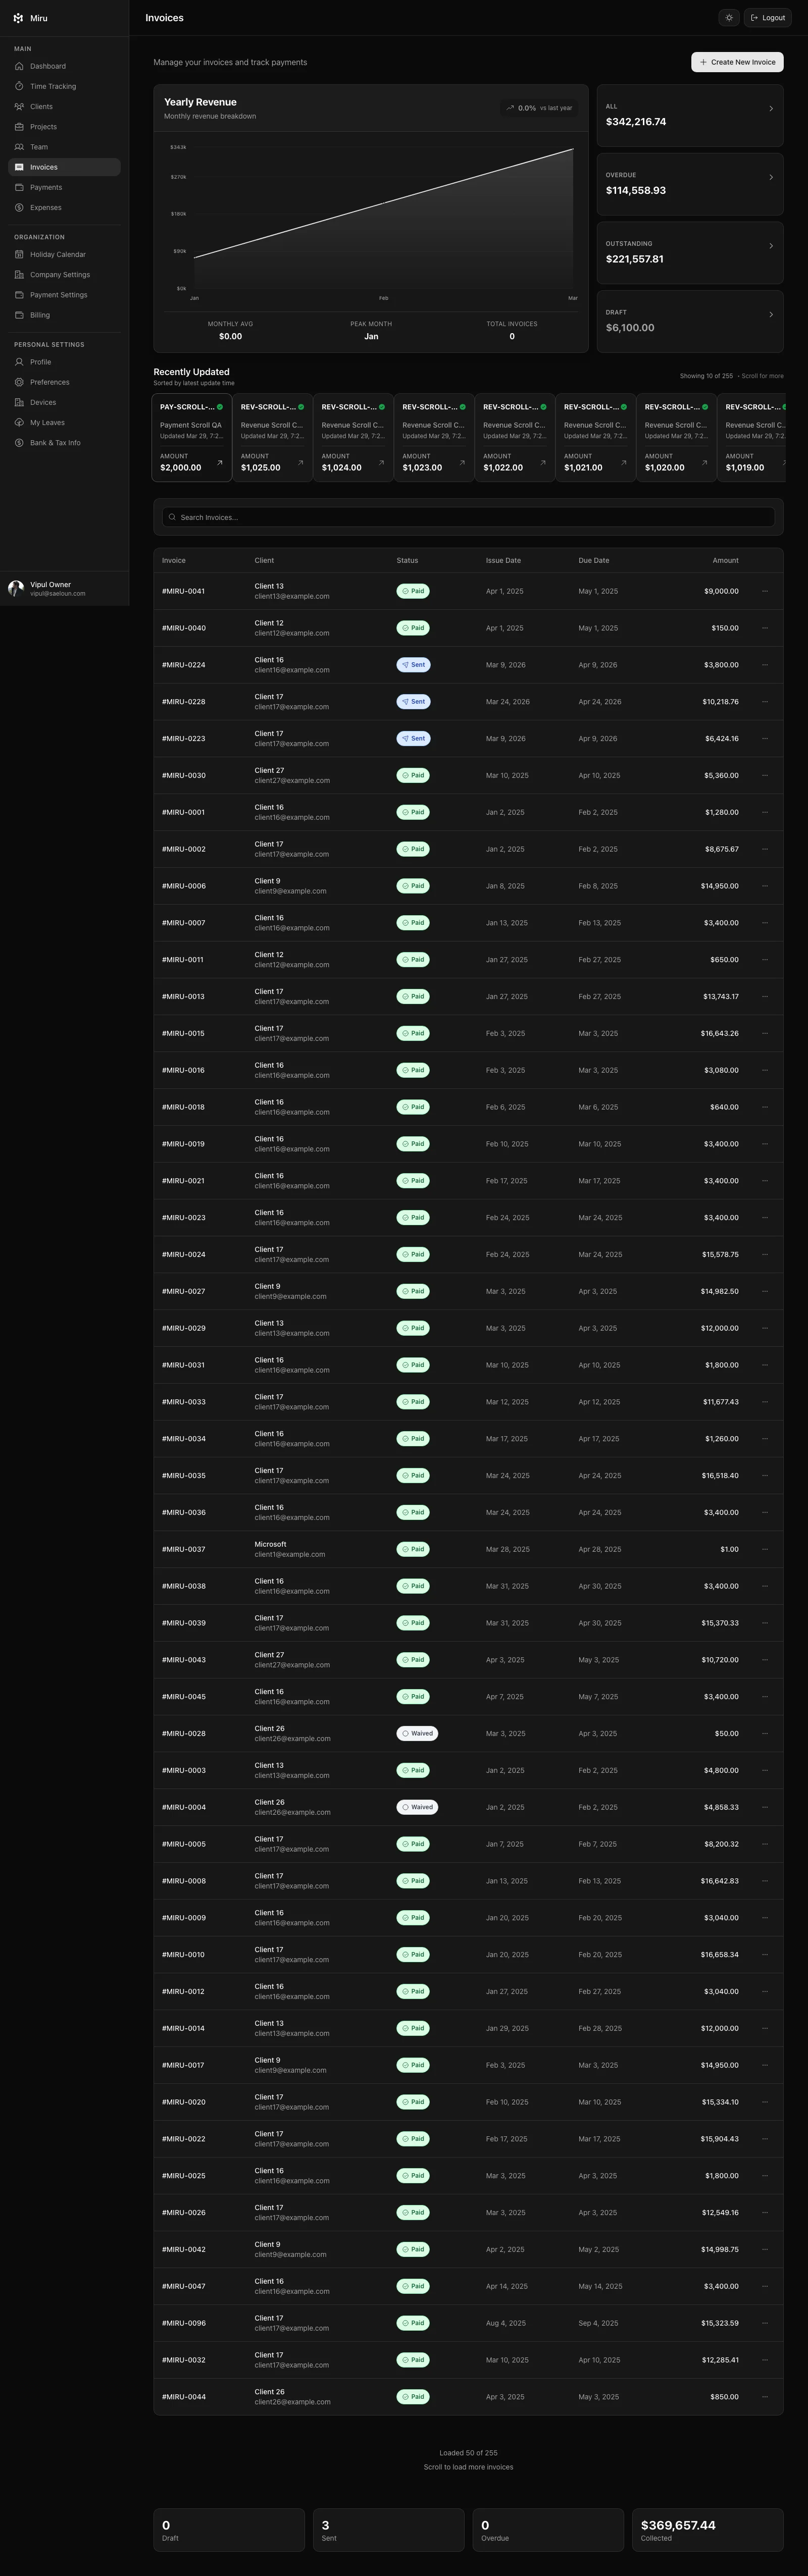
The invoice status updates to “Paid” in Miru. The payment shows up in your Stripe dashboard. If you need to issue a refund, you do it through Stripe. Miru syncs the status.
For tax purposes, every invoice and payment is exportable as CSV or PDF. Your accountant gets clean data. You don’t spend January reconciling twelve months of invoices against bank statements.
The Entire Flow
- Track time in Miru (timer, manual entry, or CLI)
- Generate invoice from billable hours
- Client pays via Stripe link
- Payment records automatically
- Export for accounting
Five steps. Five minutes to set up. And you never manually create a PayPal invoice again.
Connect Stripe and send your first invoice at app.miru.so.
Hard Stop
Run this loop for two weeks without skipping cleanup. The compounding effect is real.
Start with Miru or read the docs.
Vipul A M
Co-founder at Saeloun. Building Miru. Rails contributor. Shipping from Pune, India.
Read next
How to Bill Clients Without Losing Your Mind
A practical guide to client billing for agencies: time tracking, invoicing, expense management, and getting paid on time.
The Freelancer's No-BS Guide to Getting Paid
Track your hours, send professional invoices, and get paid without chasing. A practical guide for freelancers who'd rather do the work.
Self-Hosting Miru: A Complete Guide for Teams That Own Their Data
Step-by-step guide to deploying Miru on your own infrastructure. Docker, bare metal, or cloud -- your servers, your rules.
Put it to work
Run one cleaner billing cycle in Miru.
If this article is about tracking time, billing clients, comparing tools, or automating work, Miru is the product version of that idea. Start free, invite the team, and send the next invoice from tracked work.
What you get
- Time tracking, invoices, expenses, and payments in one place.
- Free for up to 5 users. Pro is $1/member/month.
- Open source, with CLI, API, MCP, and self-hosting paths.
The article is the argument. Miru is the workflow.
Track the work, approve the hours, send the invoice, and get paid without bolting together three separate tools.