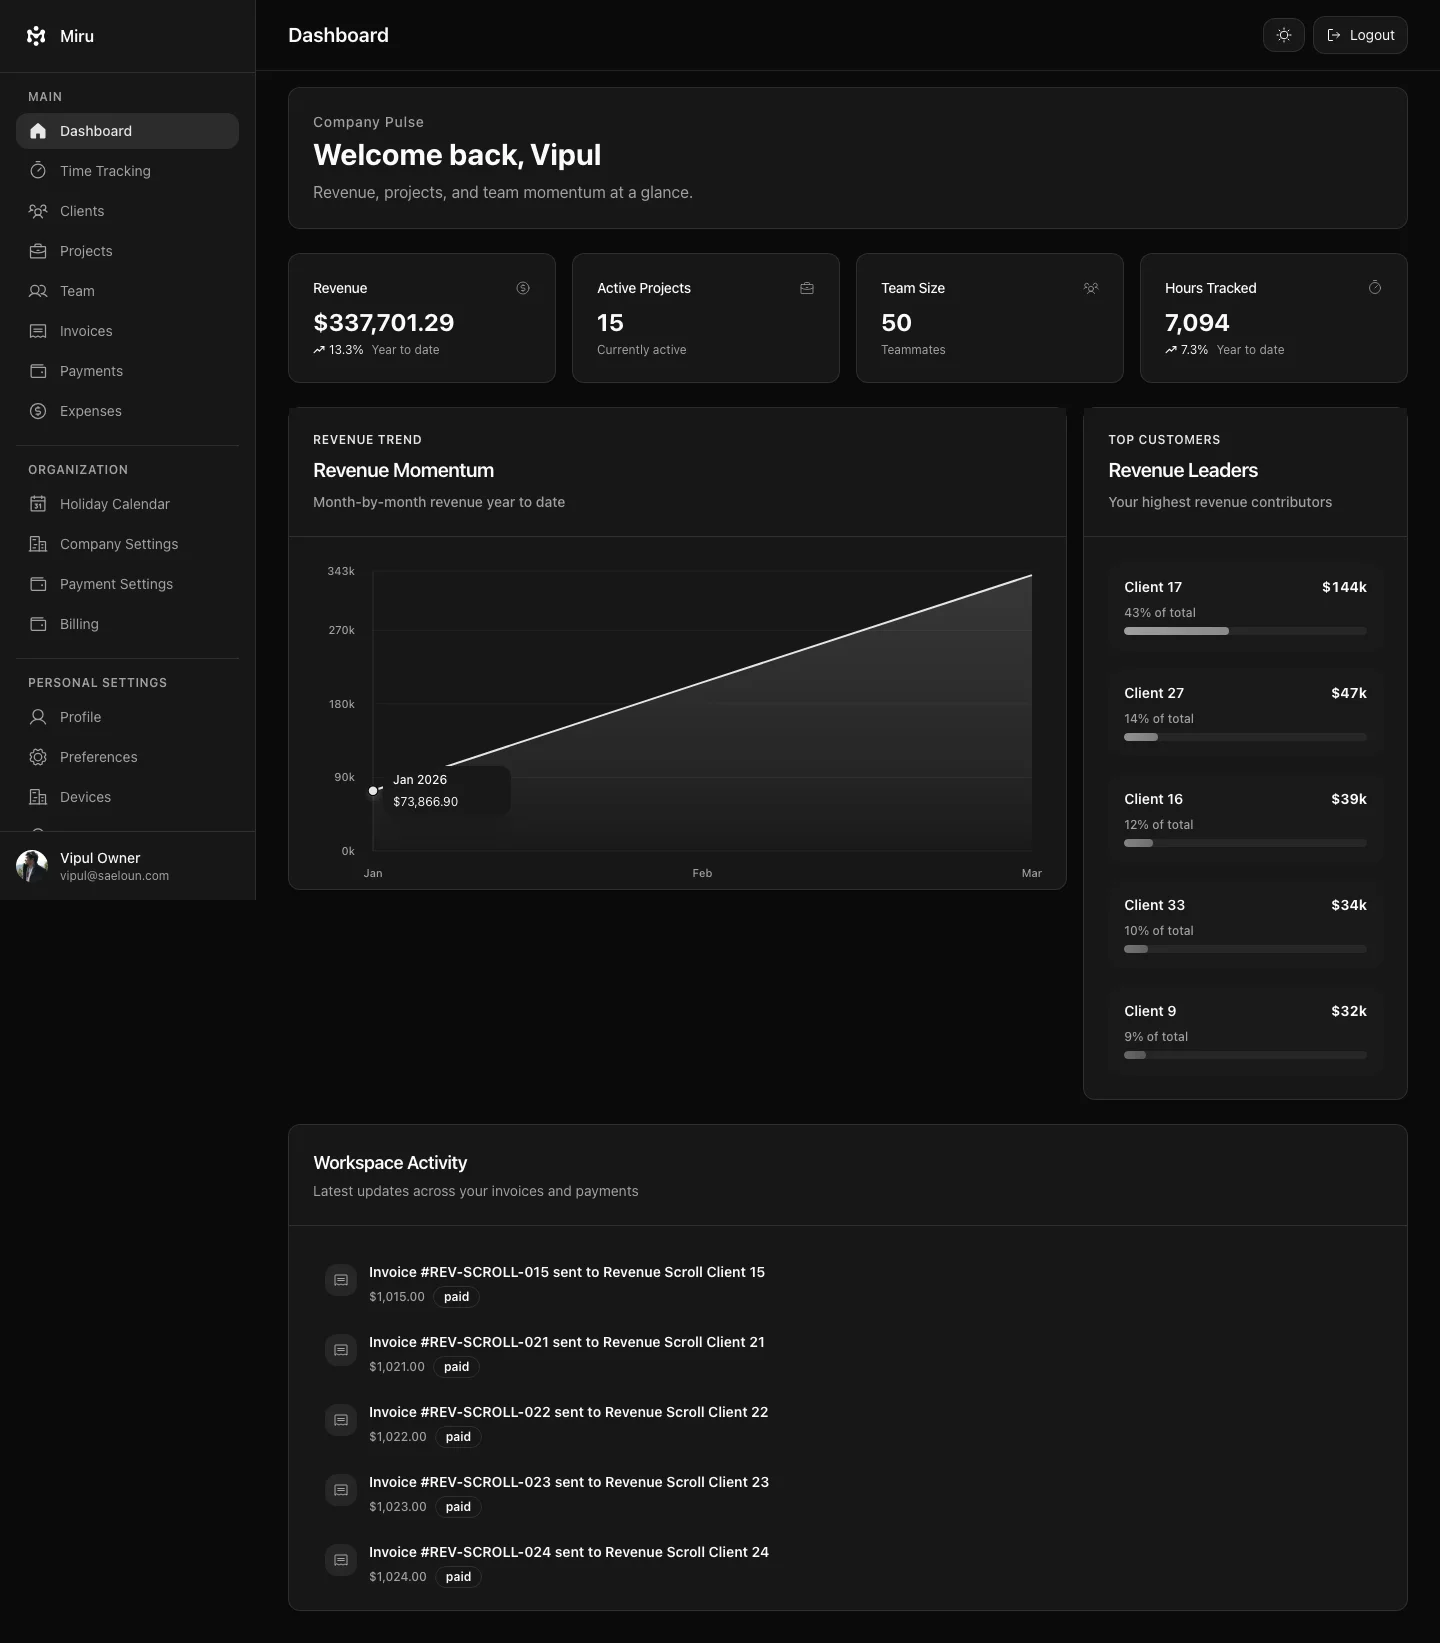
After you sign up, Miru asks you to set up your organisation before you land on the dashboard. The setup has two steps, and everything you enter here can be changed later under Organization > Company Settings.
Step 1: Company details
| Field | Notes |
|---|---|
| Company name | Required, up to 30 characters. Appears on invoices and in the workspace switcher. |
| Business phone | Optional, 2 to 15 digits. |
| Address line 1, City, State, Country, Zipcode | Required. This is the address printed on your invoices. |
| Address line 2 | Optional. |
| Timezone | Pre-filled from your browser. Used for dates in emails and leave calculations. |
| Logo | Optional. Shown in the sidebar and on invoices. |
Step 2: Financial details
| Field | Notes |
|---|---|
| Base currency | Required. Defaults to the currency of your country. Reports and totals are shown in this currency; clients can still be invoiced in their own currency. |
| Standard price | Your reference rate. Billing uses each member’s hourly rate, set per project when you add them. |
| Fiscal year | December, March or September. The dashboard uses it for year-to-date figures. |
| Date format | MM-DD-YYYY, DD-MM-YYYY or YYYY-MM-DD, used everywhere dates are shown. |
| Working days and hours | Default 5 days and 40 hours a week. Used for leave balances and timesheet expectations. |
Click Next after step 1, then Save org details and Continue after step 2 to land on Time tracking. The usual next steps are adding a client, creating a project and inviting your team.