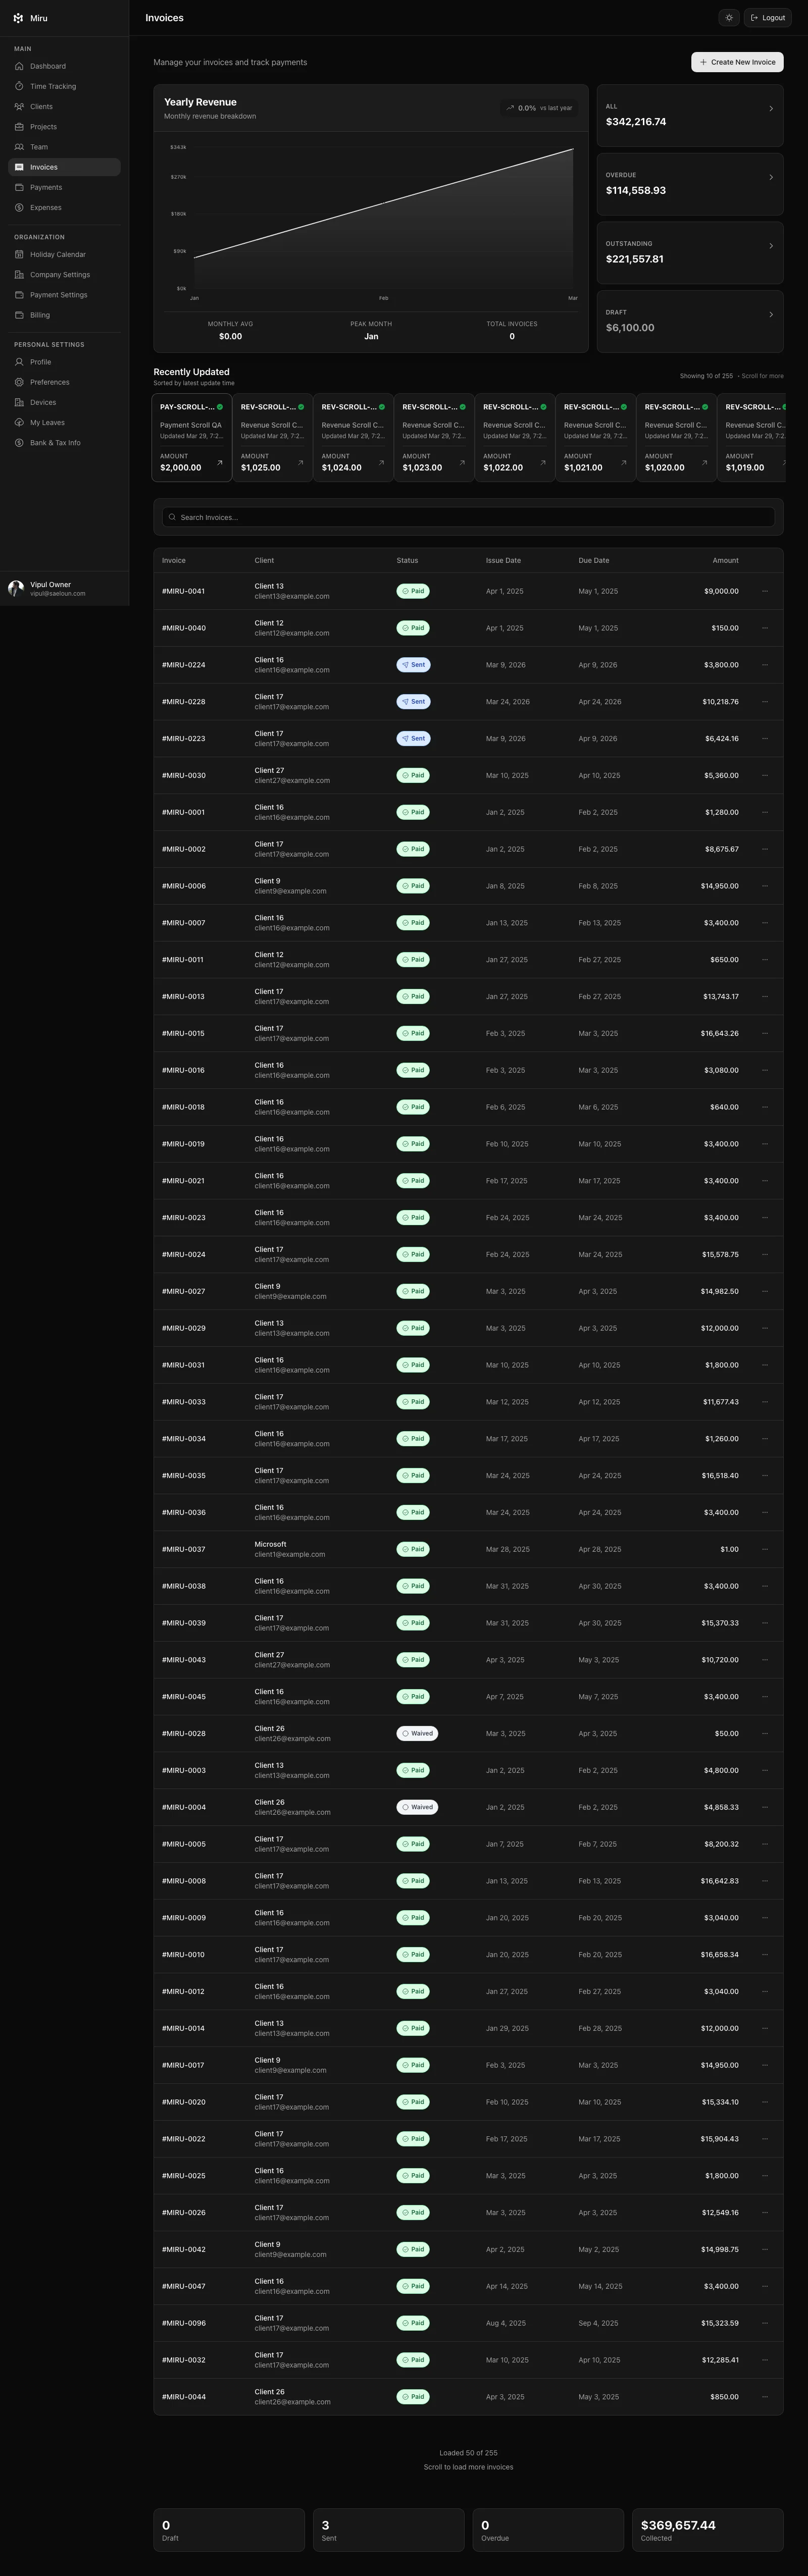
An invoice pulls in the unbilled, billable time your team logged for a client, so there is nothing to retype.
Steps
-
Go to Invoices and click Generate Invoice.
-
Pick the client. Miru fills in their address and currency.
-
Check the header fields:
Field Notes Invoice number Suggested by incrementing the client’s last invoice number. Reference Optional purchase order or reference, up to 12 characters. Issue date Defaults to today. Due date Defaults to 30 days after the issue date and cannot be earlier than it. -
Add line items:
- Unbilled time entries. Click + LINE ITEMS to see the client’s unbilled, billable entries. Filter by team member, date range or search, then tick the ones to include. Each entry becomes a line with the member’s project rate and the logged duration.
- Manual entries. Add a line with a name, description, date, rate and quantity for anything that was not tracked as time.
-
Apply a discount and pick a tax from your configured taxes if needed. The total is subtotal minus discount plus tax.
-
Save to keep a draft, or Send Invoice to email it.
Saving locks the included time entries so they cannot be invoiced again. Deleting a draft unlocks them; sending marks them billed. Sending accepts up to five recipient addresses and moves the invoice to Sent; the client gets a link to view and pay online.
Only owners and admins can create invoices.